
What Wedding Photographers Want You To Know!
Choosing a wedding photographer can be such a difficult task! We want to help!
Tidbit 1 : Find your photography style!
How do you do this? Research! A great way is just scouring the internet and google images. Look at LOTS of different photography websites. Find what speaks to you. Then…
Tidbit 2 : View Their Weddings
No, not their website! Or their blog posts!
Though we put a LOT of thought into the images we select for our website & blogs, we want you to look at wedding galleries.
Multiple, complete, full-day wedding galleries!
All photographers take great photos, but can they create and capture cohesive, high quality images throughout the entire wedding day?
*Hint* If a photographer is unable or unwilling to share multiple, full wedding galleries, run—do not walk—away!
Viewing a photographer’s full wedding gallery can tell you a tremendous amount about the consistency and quality of their work.
When viewing a photographer's gallery, take a close look at:
The consistency and quality of images. We would argue that this is THE MOST important component to choosing your photographer. Does the photographer's gallery match the style of images they display on their website? Is the entire gallery cohesive in terms of color, vibrancy, and quality? Many photographers take fantastic portraits, but leave much to be desired for other wedding shenanigans such as key moments like first dances, etc. This could be due to experience, lighting, communication/lack of communication with planners on wedding day.
The cohesiveness of their editing style in terms of color vibrancy, quality, and completion. Many photographers will use phrases like "artisan edits" but only choose 75-100 images for these specialized edits. Chad and I (mainly Chad, cause Beth isn’t much the editing wizard) pride ourselves on the consistency of our editing. If we had to describe our images we would use words like true-to-life colors, crisp, and clear. We want every photo to look consistent throughout your wedding gallery. To do this, Chad puts his special editing magic to practice on each and every single one of your images! Especially with today's technology, there's no excuse to use the best editing practices.
The framing of images. Whether it's posed portraits or moments, framing an image is everything that takes place in a photo. Like a roller coaster, all hands and feet should be inside the image when appropriate. Horizons should be straight and preferably not tilted or crooked. It's like the architecture or structure of the image! What is the composition? How is the image put together?
Lighting style. You may have heard the terms "natural light photographers" or "flash photographers". Though Chad loves his off-camera light work, we like to consider ourselves to be "light photographers". If the natural light is stunning, YES we use natural light! If we're in a getting-ready room with zero window light (yes, it happens) we are still able to create beautiful images because we understand how to utilize our off-camera lighting. This means you don't have to worry about blurry or grainy reception photos when the lights go down and it's time to turn the party up! Ever wondered how we get those EPIC sunset photos? Off camera flash! Every tradesperson should know how to use their tools, photography is no different. Beth and Chad are hardcore geeks when it comes to knowing their gear.
Variety of images. We’re not talkin’ quantity here! Ok, maybe we are, just a wee bit. We’re talkin’ about the amount of diversity. How many candids are there in a single moment? Are there only 3 photos of the first dance? (There should be much more than that--haha). Is there a variety in the framing? Every moment should have close-up images, far-away images, unique images from up high to get a feel for the room, and unique images from down low; bonus points if Chad and I have time to compete for who can get the most creative! A big advantage to us is that we have worked together photographing weddings for ten years (yikes...lol). That means you'll get two different angles of each moment from professionals who know exactly where to be and what to do. Though we still learn new things and aim to perfect our craft each and every time we pick up our equipment, we take seriously our ability to capture raw moments as they happen throughout the whole wedding day in a timeless and high-quality style!
Photojournalism. We are driven by moments. At the end of the day, you deserve photos that allow you to relive the day. One of our favorite parts of being a wedding photographer is capturing moments that you don’t even know happened, or get to see! We want you to look back and feel the emotion of the day.
How many images are delivered? No two weddings are the same. The number of deliverable images ranges based on the events/moments that take place. We do not have a set number of images we deliver. This means we do not limit the number of images. If the photo is of quality and not a duplicate of another, we deliver that image.
The MOST important is the style of images. Is the photographer's gallery something you can look back at and swoon over time and time again?
This is NOT a comprehensive list, but it does hit all the big, key pieces of what we look for when we judge
wedding photo competitions or critique a fellow photographer’s gallery!
Be critical! This is your wedding day and you get one chance to choose a photographer who will capture your day perfectly!
View Our Complete Galleries Below:
Engagement Gallery
Annie & Jason Engagement Session (Fort Macon, NC)
Wedding Galleries: (All weddings below are 10-12 hours of coverage)
Natalie & Daniel's Wedding (Jefferson, NC) *Incredible mountain views & lots of reception shenanigans*
Beth & Matthew's Wedding (Havelock, NC) *Epic rain ceremony - yes, we are those photographers that will brave all the elements!*
Taylor & Brandon's Wedding (Emerald Isle, NC) *All in wedding with photo, video, & post-wedding photo session*
Tidbit 3 : Pricing… *Bombastic side eye*
Weddings are an investment and cost a lot of money. And photography is no exception.
But let me explain.
There’s a lot of work that goes into it - you’re not just paying for the photographer’s time on the wedding day itself, but also for the days and weeks of work after the day is done! Not to mention the years spent learning their craft.
Finding/Trying/Switching/Using the best gear! This goes for cameras (back up cameras), lenses (back up lenses), lighting (don’t get us started—we have it all!), stands, etc.
A career’s worth of experience.
There are lots of costs that are associated with running a professional photography business, such as fees, assistants and second shooters, transportation, taxes, management software, website costs, backup systems and programs and hard drives, etc. - just to name a few of the more standard business expenses.
At the end of the day, you are paying for creative eyes, practiced hands, and knowledge.
Our couples’ photography, on average, accounts for roughly 30% or more of their wedding budget. It’s a big chunk of change.
The behind the scenes experience is just the beginning!
We go through a massive amount of images each wedding—typically 6,000-11,000 images—and culling through those images to select the very best to send to our couples is time-consuming. Here’s a break down of our 12 Step Post Production Process:
Step 1 – Backup | The very first step is taking ALL of the photos and backing up all of the RAW photographs to our hard drives and servers. Your photos go to 3 different places! First is a working, portable hard drive where we store all of the undelivered files. Second is a set of backup hard drives in our studio. Third is everything gets backed up to the cloud for online safekeeping!
Step 2 – Culling | We shoot thousands of photos at most weddings. With each candid moment, we want to capture the exact frame that tells your story. And with each posed portrait, we want to capture the best expressions. This means we often shoot rapidly, sometimes at 10 frames per second or more, to get the best frame from the whole moment or portrait. This leaves us with several hundred photos (sometimes even more) of the same moment. Our first post-processing step, then, is to narrow down the gallery or “cull” the photos and select the photos that will be editing. We will typically cull 6,000-10,000 photos down to around 700 - 1,000 final photos to be edited. Sometimes more or sometimes less depending on how long we are at your wedding or what events take place!
Step 3 – Presets | After the photos have been culled, we pull them into Adobe Lightroom and apply our custom import preset. Just applying the preset and then what’s called a “smart preview” to the photos can take quite a while. This preset adjust the highlights, shadows, blacks, whites, HSL, contrast, tone curve, sharpening, noise reduction, etc. universally across all photos. This gets the photos to the starting line that matches our color signature style
Step 4 – Editing & Color Corrections | After the preset has been applied, we go through each photo, one by one, making color corrections and adjustments. Each lighting situation requires different adjustments. Are the photos backlit, front-lit, are there multiple light sources? Is the lights tungsten, fluorescent, natural, or a combination? Each one of these lighting situations requires a custom adjustment. Not only do we have to make adjustments to the shadows and highlights, but also to the white balance and color. This is usually the most time-consuming step in the process, as it can take even a skilled editor up to several minutes per photo.
Step 5 – Local Corrections | While making color corrections, we will also flag certain photos that need local, more targeted adjustments, OR just to give them an extra WOW factor. Local corrections are those that apply to only a certain area of a given photo, not the whole photo itself. For example, if we want to brighten someone’s eyes but not the entire photo, or we want to darken the background of a dance scene but not darken the subjects, or we want to clone out and remove a distracting foreground element, these are local corrections. Typically, about 25% of the photos will receive some sort of local adjustment.
Step 6 – Black and White Duplicates | The next step is to create duplicate copies of certain photos to become black and white variations. We then apply our custom black and white preset to these photos and repeat steps 2 and 3 again.
Step 7 – Review, Revise, Highlight | At this point, we have been reviewing all the photos several times over several days. As we’ve gone along, we have watched to ensure we didn’t overlook any issue, such as adverse lighting that could be corrected. We then review 100% of the photos one last time and make any needed revisions. During the final review, we mark certain photos we believe best represent the gallery as a whole for use in the highlights gallery, blog, and social media.
Step 8 – Export Preparation | Next, we adjust all the information on the back end of the files. None of this can be seen on the photos themselves, but when the photos get to a professional printing lab, or make their way onto the internet, this process ensures that Google and the print lab understand the legalities of photo ownership.
Step 9 – Export | Your photos are initially shot in RAW photo format. RAW files cannot be printed, nor can they be viewed through most software, but they are superior for editing. RAW files capture the maximum amount of data on the sensor and allow us to do more to the photos when editing. But, when it comes time to deliver the files to you, you need to be able to view them on standard software. Thus, we have to convert them all to JPEG format and export them that way. This export process typically takes several hours.
Step 10 – Creation of Slideshow | We have found the best way to relive your day for the first time is to experience it in motion. That is why we create a slideshow reveal of your images with music! This process typically takes a couple of hours and our couples can't get enough of watching their slideshow after it is all said and done!
Step 11 - Upload and Organize | We also deliver all your photos in an online gallery so that you and your family/friends can easily access them from anywhere. Uploading these high-resolution JPEG files onto the internet takes several hours. After they’ve all been uploaded, we also organize them based on chronology and event, (e.g., “getting ready”, “ceremony”, “reception”) etc.
Step 12 – Delivery | Yay! The slideshow and photos are edited and ready to be delivered! It is time to schedule a "reveal" for you and your better half. Once we’ve completed all the steps above, we send you an email granting you access to your gallery and Enjoy!
Tidbit 4 : Photographing a wedding day takes time!
Below is a few tips about how much time each part of your wedding day takes to photograph! And maybe help you narrow down how much time you’ll need in a photography package.
Details
(dress, shoes, rings, etc.)


The first thing we would like to capture when we arrive are the details to get them out of the way so we can focus on capturing the day! Typical details that we photograph on the morning of are the wedding dress, brides shoes, the rings, invitations, and anything heirlooms that are a part of the wedding that may mean something to you. We can also capture the grooms details such as shoes, watch, cufflinks, etc if desired. We ask that you please have any details that you would like photographed/video’d to be laid out or organized prior to our arrival so that we can grab them and take them where needed to photograph. Also, don’t forget to pick up a nice dress hanger! Ditch the plastic hanger that comes with the dress and maybe pick up a handmade hanger customized for you if you would like (you can find these on Etsy.)
Time Required: 30 minutes - 1 Hour
When: Upon Our Arrival
Where: Bride and/or Groom’s Suite
Morning Prep


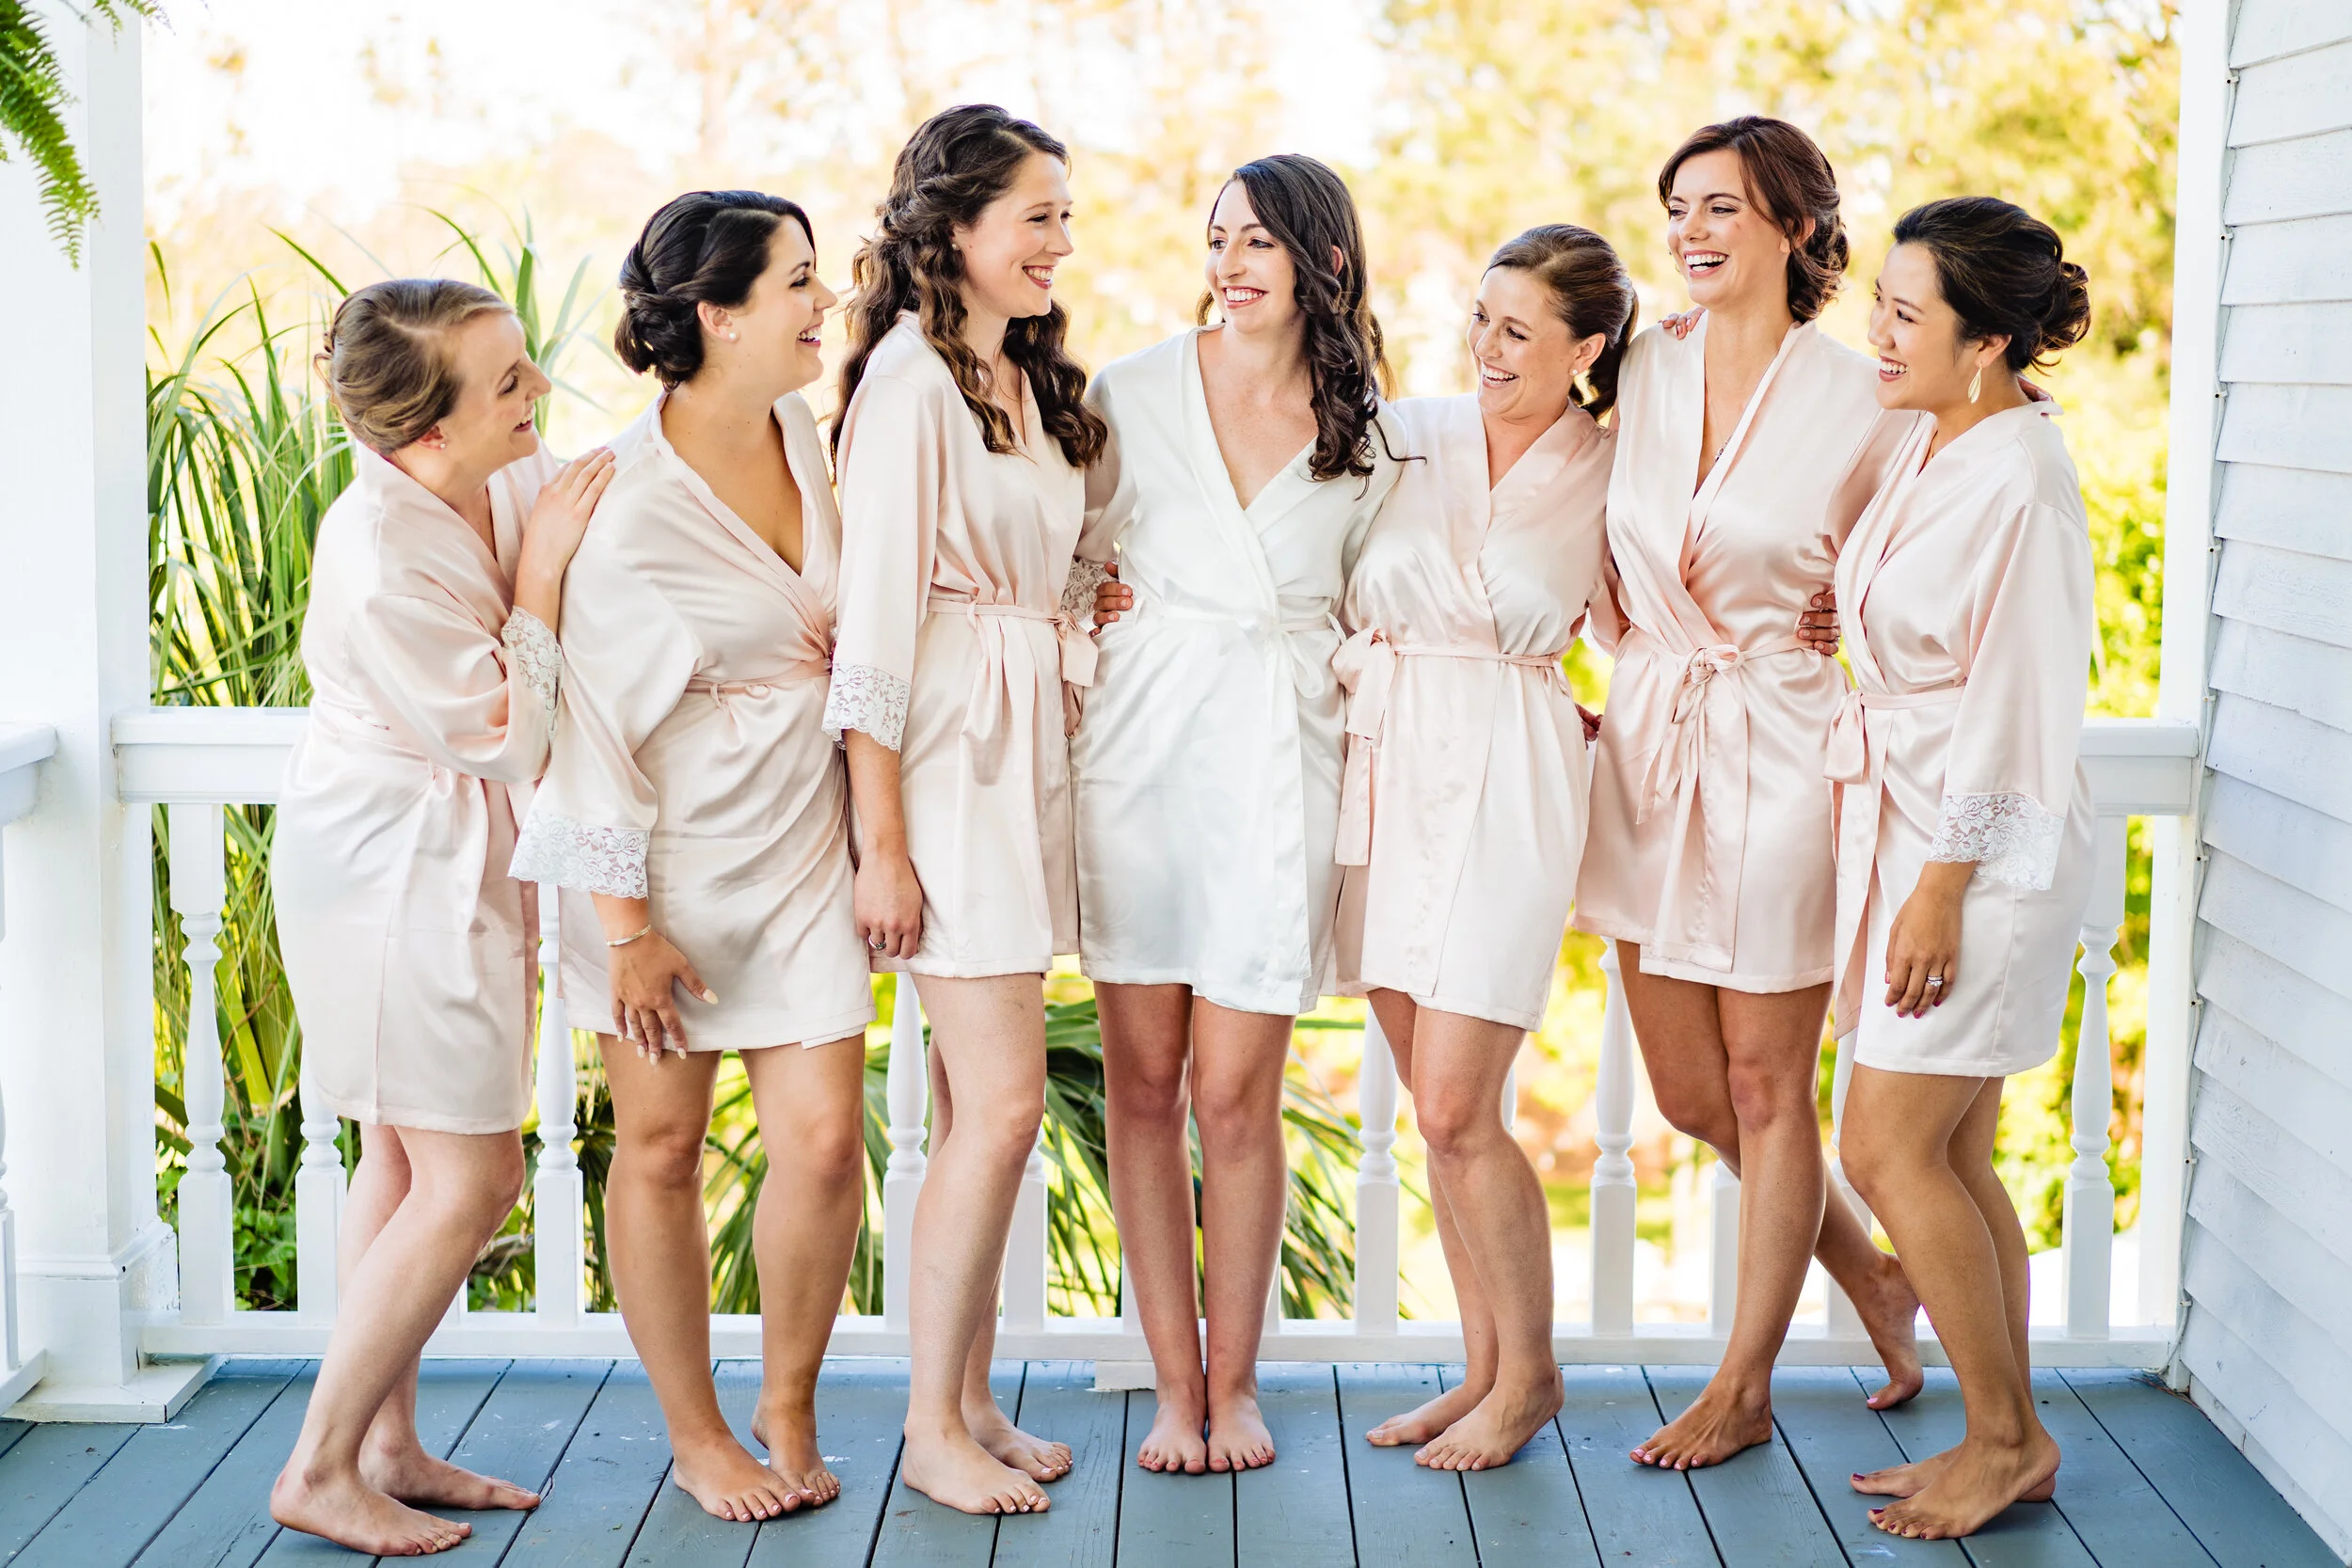
Next up, we capture the fun chaos of wedding day morning prep! What we are looking to capture is any activities in the morning (ie golf, cornhole, or a stroll on the beach), hair and makeup, the couple getting dressed, and all of the candid moments in between. Often times these are the most emotional and fun parts of the day and we want to capture it all to add to your memory of the day. Also for the ladies, if you have robes for you and your girls… Right after hair and makeup is complete is a good time to get together for a fun, quick photo op before getting into your dresses!
Time Required: 1 hour - 3 hours
When: Morning
Where: Bride and/or Groom’s Suite
Individual Portraits


These are typically done right after you are dressed. These take only a couple of minutes and make for really nice album spreads later on! Plus, it is nice to have at least 1 or 2 photos of just you on your wedding day! We can always grab one more of just you later in the evening as well!
Time Required: 5 minutes - 30 minutes
When: Morning
Where: Bride and/or Groom’s Suite (or right outside)
First Look or “First Touch”


“Should we do a first look” is probably the most commonly asked question to us. My answer is it always the same:
If you think it will help keep the nerves at bay during the ceremony, or if you want the most possible portraits of just the two of you, then do a first look! If you feel like you would rather wait and be more traditional, then skip the first look and opt for something like a “first touch” instead. The first touch can be done around a door where you can talk to one another, but not see each other. During this part of the day is the best time to exchange letters or gifts as well! We can see the two of you and capture some really awesome photos this way.
Time Required: 30 minutes (just first look and a few portraits) OR 60 minutes (if you want to do all wedding party photos beforehand)
When: Morning
Where: Bride and/or Groom’s Suite (or right outside)
Wedding Party Photos


We start with the classic traditional photos and then move to just a couple fun and creative ones. We aim to stay away from cheesy unless specifically requested! We also aim to capture an individual photo with you and each wedding party member (ie bride with each bridesmaid, groom with each groomsman!)
If you are wanting to do you and your sides photos before the ceremony we require the bride to be ready 90 minutes prior to the ceremony time for these photos. We can capture groomsman photos 60 minutes prior to the ceremony. We like to allow 45 minutes prior to the ceremony for you to relax and for us to prep for the ceremony! If you are doing a first look, then we can capture the large group shots after. If you are not doing a first look, then we can capture the group shots after the ceremony.
Time - 45-60 minutes
When - Morning (after prep and/or first look) or Early Afternoon (after ceremony)
Where - On location of the ceremony or reception site. We look for shaded areas or having the sun at your backs (for all group shots).
Family Formals


The time it takes for family formals is going to be different for everyone depending on your family size and who all you would like to be in your family photos. Our advice is to keep these to immediate and close family only. We can always grab some photos of you and distant relatives during the reception! Also, if you were trying to do any family photos before the ceremony, we recommend keeping these to say parents and siblings. It’s always a struggle getting large amounts of family members together 2 hours prior to the ceremony as there is always someone who runs late and we end up having to do these photos afterwards anyway.
We require a family photo list from you prior to the wedding day to ensure we capture every family photo that you and your family desire! This makes things go by a lot smoother and quicker, trust us!!
Time - 30 minutes or less (our goal)
When - Immediately Following Ceremony
Where - On location of the ceremony or reception site. We look for shaded areas or having the sun at your backs (for all group shots).
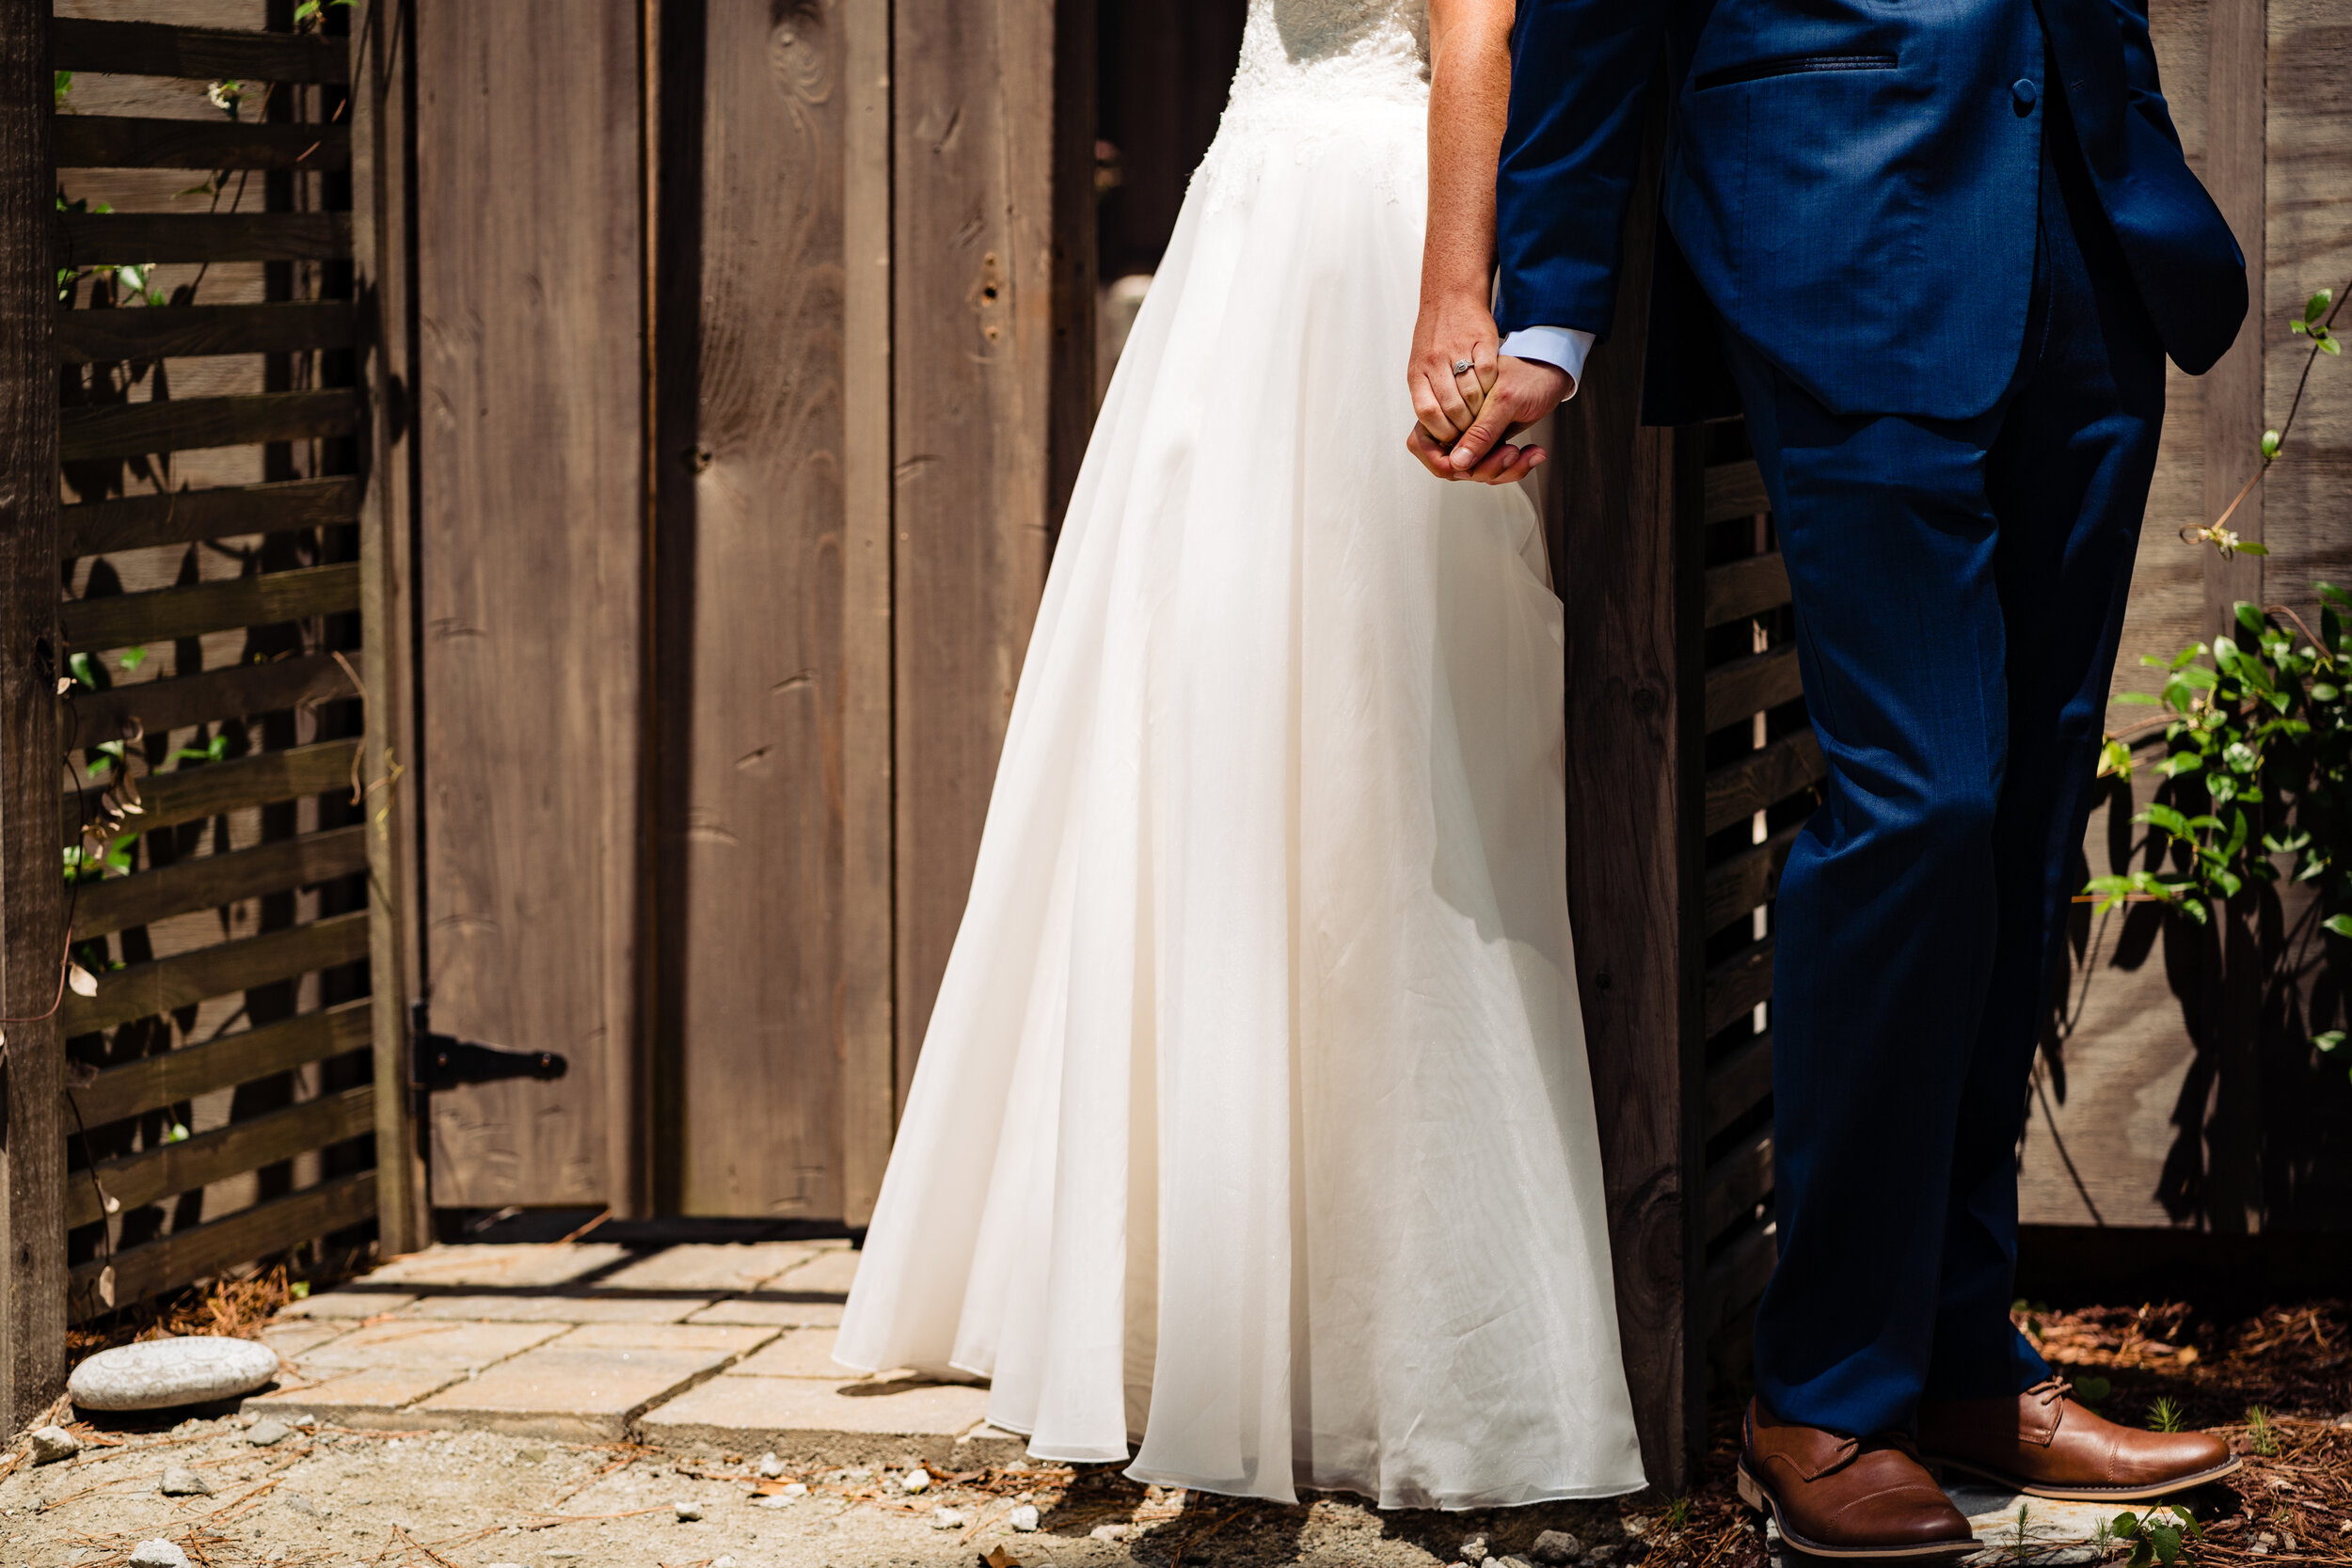
Couples Portraits (Golden Hour & Sunset)


Who doesn’t want epic landscape style wedding portraits? We will deliver even if mother nature doesn’t cooperate, as we have a few tricks up our sleeve to still give you amazing wedding day portraits of the two you. This is the intimate and fun moments as you step away from everyone and have just a few minutes to yourselves. We will guide you into the best positions and poses and the rest comes natural!
What is Golden Hour? Golden Hour refers to the beautiful natural light that occurs 1-2 hours prior to sunset. Ideally we want this to be the time your ceremony ends and for all of the formal group shots and portraits to be finished up in.
The best time to pull you out for sunset portraits is around 15 minutes prior to the sun actually setting (time varies depending on time of year.) The beautiful colors typically come 5-15 minutes AFTER sunset. So plan for around 20-30 minutes for sunset portraits for the two of you.
Time - 40 - 60 minutes (15 minutes for golden hour portraits; 30 minutes for sunset portraits; 15 minutes for blue hour)
When - Depends on the season. During summer, we typically do this around 7:30 pm. est. During winter, we typically squeeze this in immediately following ceremony.
Where - On location of the ceremony or reception site. We look for shaded areas or having the sun at your backs (for all group shots).
Reception


During the reception, we just like to capture the action and shenanigans! We follow the DJ or planners timeline during this time and capture everything as it happens. However, if you want to sneak off and smoke celebratory cigars, or are popping champagne, please let us know ;)
The reception is also a good time to do any “grab and grin” photos with friends from college, cousins, or anyone else that you haven’t had a photo with. Just grab us at anytime!
Time - Party until the sun goes down if you want! Usually 4-6 hours.
When - Immediately Following Cocktail Hour/Portraits
Where - Reception Hall
The Exit


Another question we often get asked is “are there any good alternatives to the sparkler exit.” YES! We also love confetti, bubbles, and anything water related! No seriously, water guns (my dream), champagne spraying, jumping in pools all makes for a fun end of the night celebration if you don’t mind getting a little wet! Whichever choose, know that we will capture it with some awesome photos to show for it.
Time - Last 5-15 minutes of the night!
When - Immediately Following the Last Dance
Where - Reception Hall, street, dark alley.